- Only users with ‘Owner’ or ‘Builder’ status are able to set dates for an engagement.
- All fields marked with an * on this page are mandatory.
- Ensure you are logged in to Zencity Engage.
- Navigate to your project page and select the project that you want to edit an engagement on, click on the ‘Engagement’ tab and then select the engagement that you want to edit.
- On the 'Prepare for Launch' tab, scroll down the page until you see the 'Engagement Dates' heading.

- Enter the date and time that you want your engagement to start and end in the ‘Starts' and 'Ends' fields. Your timezone will show your default timezone. If you wish to change it, select the relevant timezone from the dropdown menu.
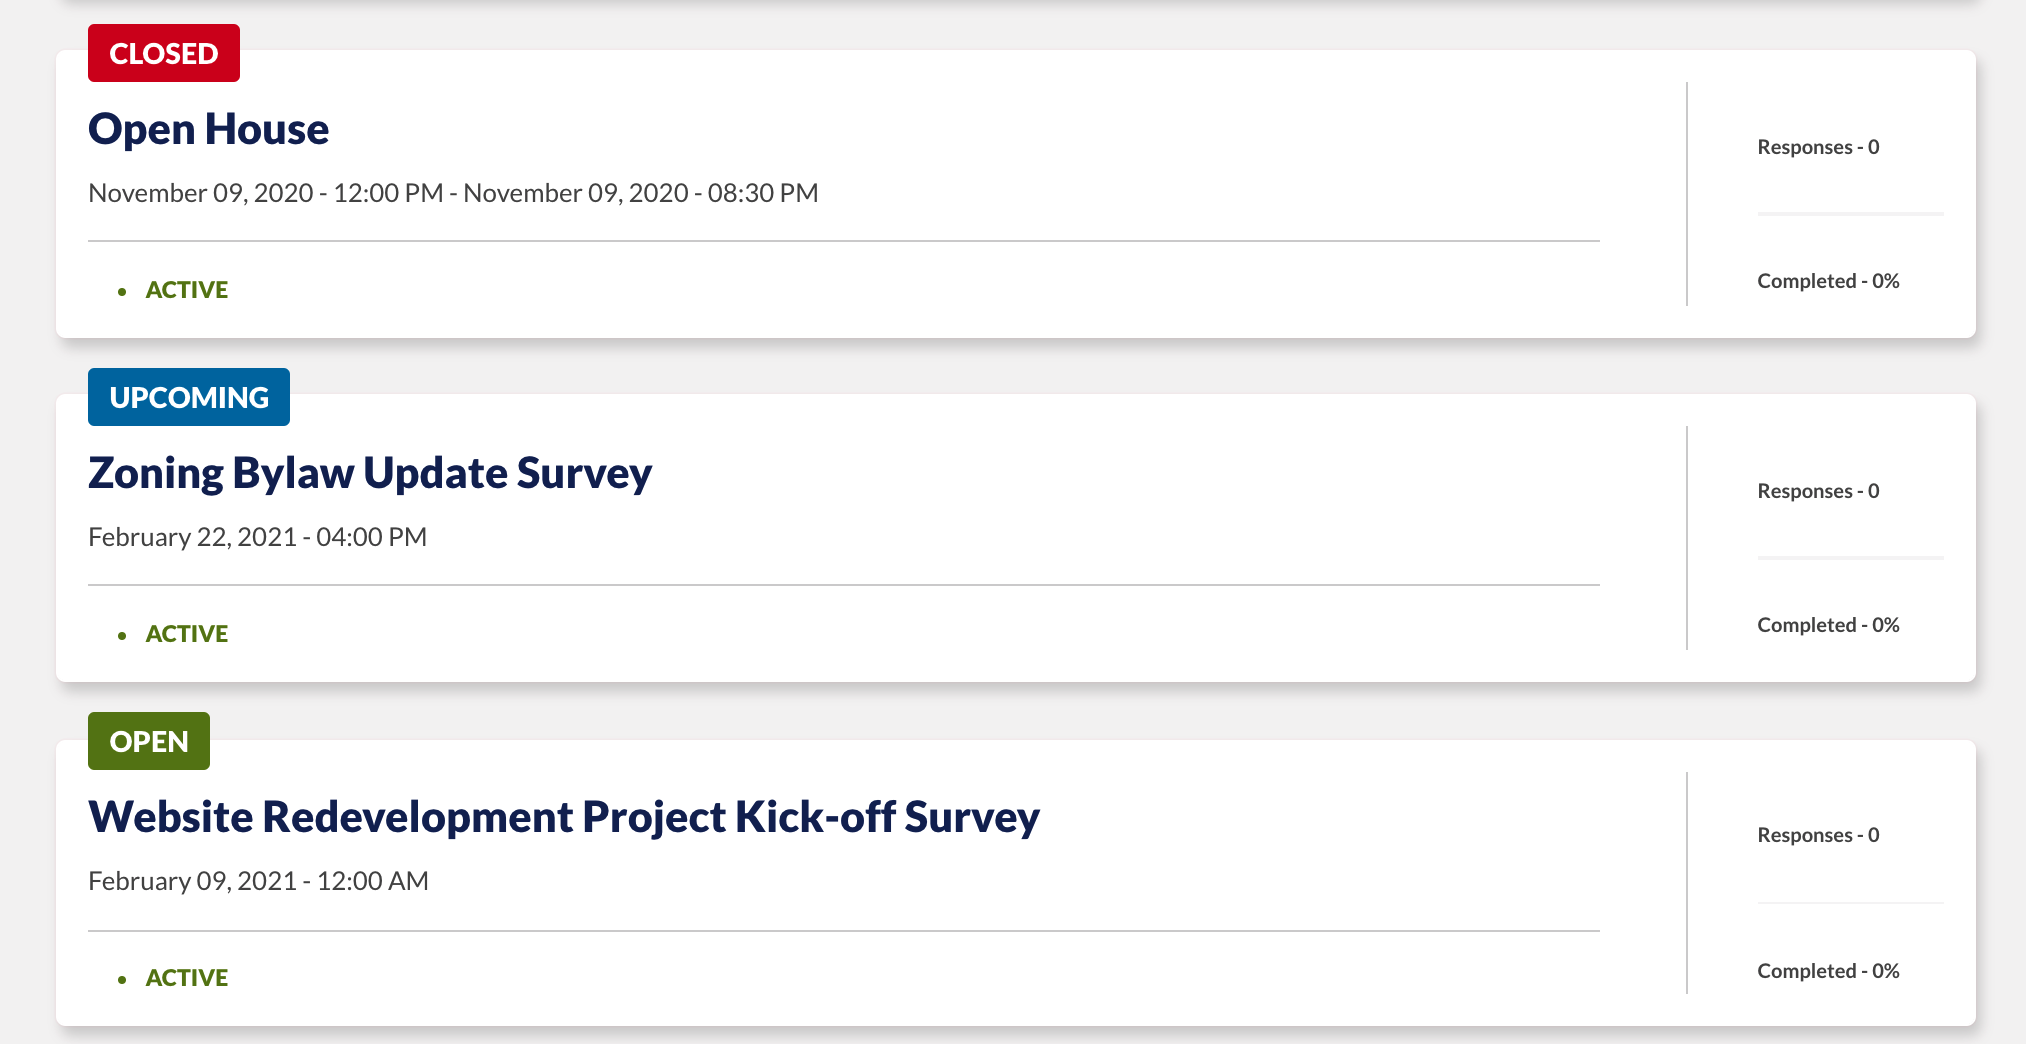
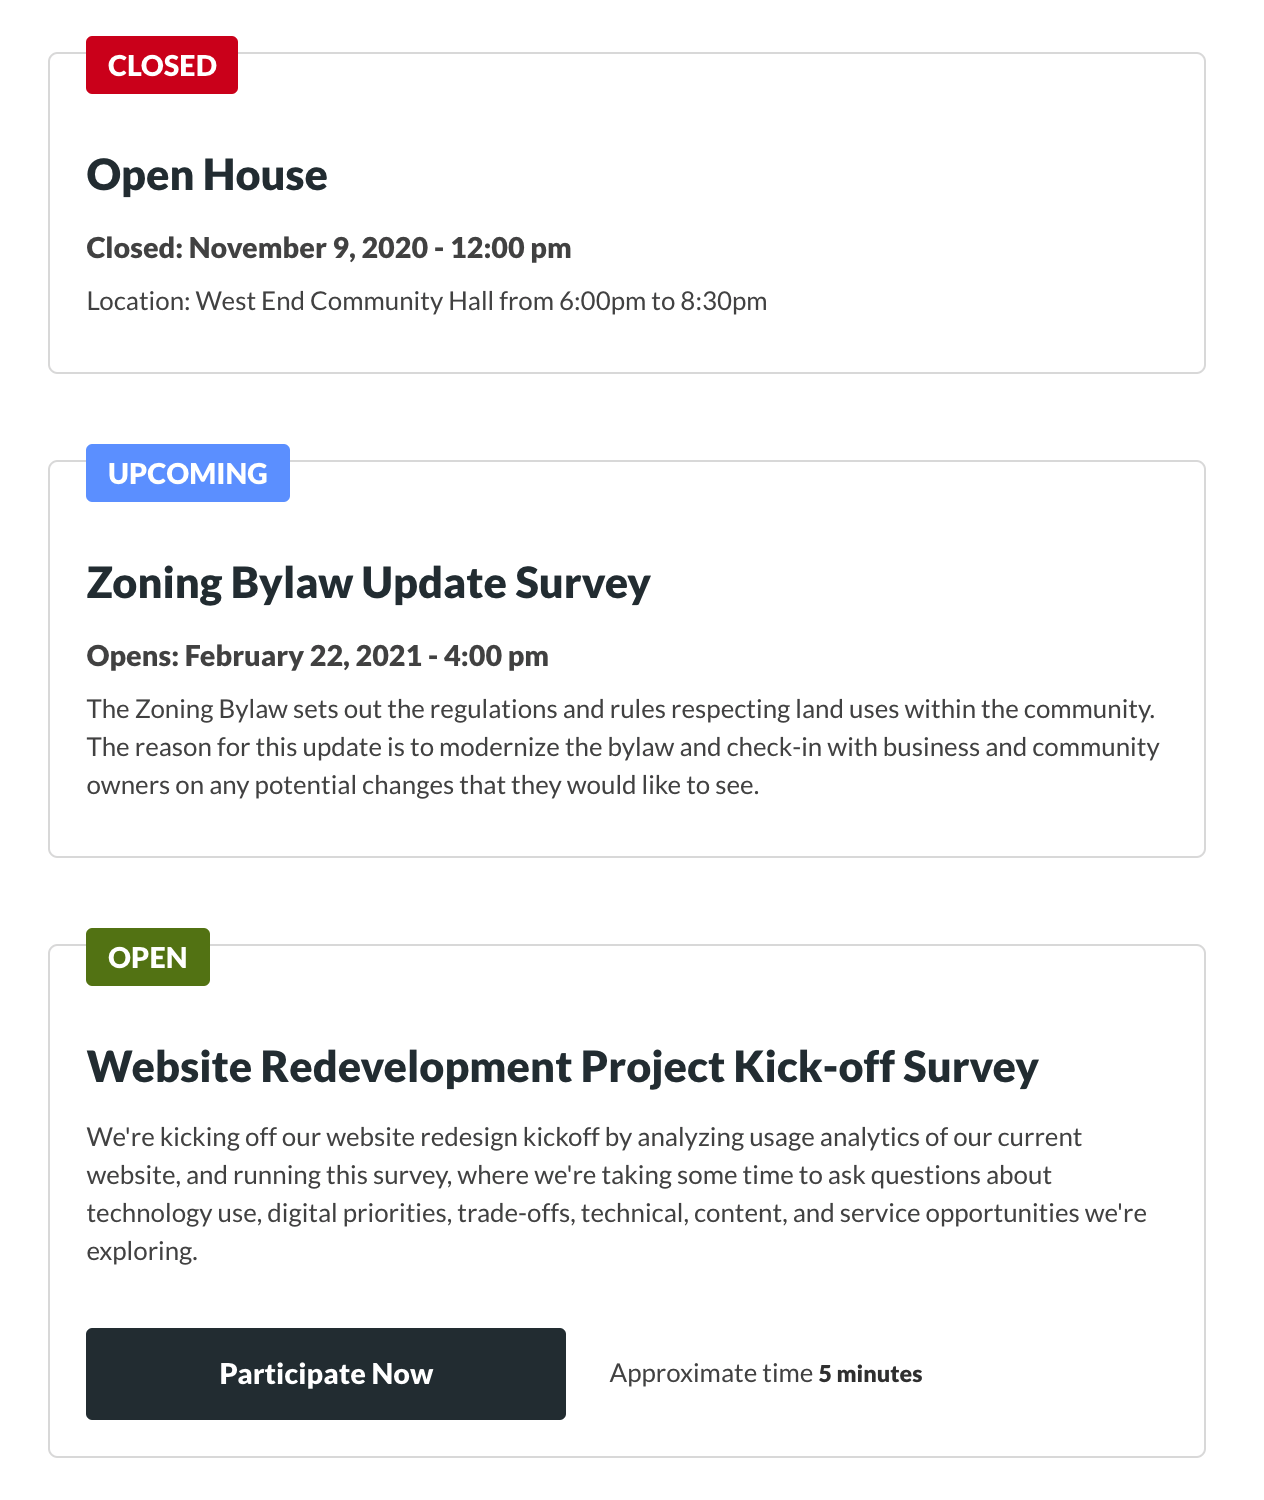
Note: If the start date has already passed and you set your engagement as 'Active' and 'Publicly Advertised' it will appear 'Open'. If the start date is in the future and it is 'Active' and 'Publicly Advertised' it will appear as 'Upcoming' but a participant would not be able to click through to your engagement. If the end date has passed and it is 'Publicly Advertised' it will appear as 'Closed'.
This shows an example of the admin view (backend).

This is an example of the public facing view (frontend):

- If you are navigating away from the page, remember to click the ‘Save’ button located at the bottom of the page.
A message will appear at the top of the screen that says ‘Updated Successfully’.
If you are staying on the engagement page to add or edit more content, remember to save your work when you have finished before you leave the page.
Comments
0 comments
Article is closed for comments.