- Only users with ‘Owner’ or ‘Builder’ status are able to activate Auto Translate features.
- The Multilingual Capabilities must be activated on the Project Overview for Auto Translate to be available. If you need to do this go to this article: https://help.zencity.io/hc/en-us/articles/7387160048273-Multilingual-Feature-Activation
- Language selections are on a per project basis, this means that different projects under the same Organization could use different languages. The selected languages for a project can then be enabled/disabled for each individual engagement by the Admin.
- Project Updates are linked to Projects so will offer Auto Translation for all of the languages that were selected for the Projects.
- Ensure you are logged in to your Zencity Engage account
- Navigate to the Menu in the top right-hand corner and select 'Projects'.
- Select the project that has the project update that you want to use auto-translate on.
- Then click the Project Updates tab and select the project update you would like to use auto-translate on.

4. At the top of the page you should also see that a grey box with
'Editing Language' with a language and dropdown arrow next to it has
appeared. This is where you can select from your chosen languages to
manually edit the content on those pages (e.g. if you want to correct
something from the auto-translate). If you run auto translation and then
edit or add additional content to the English version of your
engagement, you will have to rerun auto translation so that the new
content is translated into your selected languages.

5. On the edit screen, scroll to the bottom where you will see the
‘Auto-Translation' heading.
Note: The languages available for
auto-translation will be what you selected for the 'Language Options' on
your Project Overview.
6. Read through Auto-Translation notes
before running the Auto-Translation.

7. When you are ready, click the 'Run Auto-Translation' button and a pop
up box will appear asking you to select the languages you want to
auto-translate. It will also ask you about Override Existing Translation
options.
Note: If you are not sure which email you are logged in
with, close the box and click on the Menu button in the top right hand
corner of the page, your Account details, with email and role will
appear below the menu options.

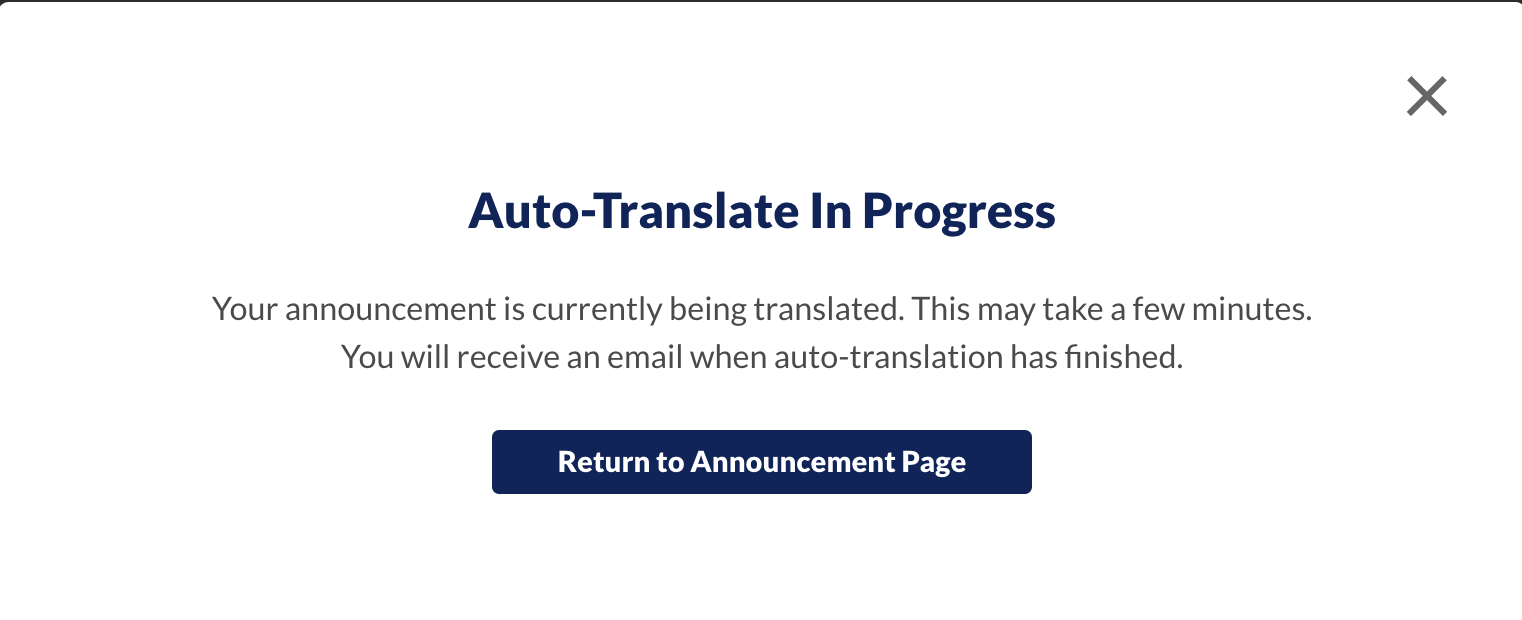
8. Select the languages you wanted, scroll down and click 'Run Auto-Translate'. The following pop up box will appear. Click 'Return to Announcement Page' to go back to the Project Update page.

9. Click 'Save' if you plan to leave the page. You will receive an email
when the Auto-Translation is complete.
10. When you have
received the email it will list any words it was unable to translate and
will give you the option to 'Continue Editing' to go directly back to
the Project Update.

11. When you are back on the edit screen for the project update, to view the public-facing side make sure the project update status at the top of the page is 'Active', click 'Save' and then when the 'Project Updated Successfully' banner appears click on 'View' in the bottom right hand corner.

12. A new tab will open with the public facing side of the Project Update. The default version is in English. Click on the Language Option icon in the top right and select a different language, wait one moment and the page will reload with content appearing in your chosen language.

Comments
0 comments
Article is closed for comments.