- Only users with ‘Owner’,‘Builder’ or 'Contributor' status are able to activate and change multilingual features.
- The language options available will be the languages that were previously selected on the Project Overview page. Return there to add/change languages. Remember to 'Save' before leaving the Project Overview page and returning to the desired Project Update.
1. Ensure you are logged in to Zencity Engage.
2. Navigate to your project page and select the project that you want to
edit a project update on. Project Updates are connected to Projects, so
whichever languages were selected on the Project Overview page for the
project will be the languages offered on the project update page.
Note: You cannot select specific ones like you can for Engagements or
Idea Boards.
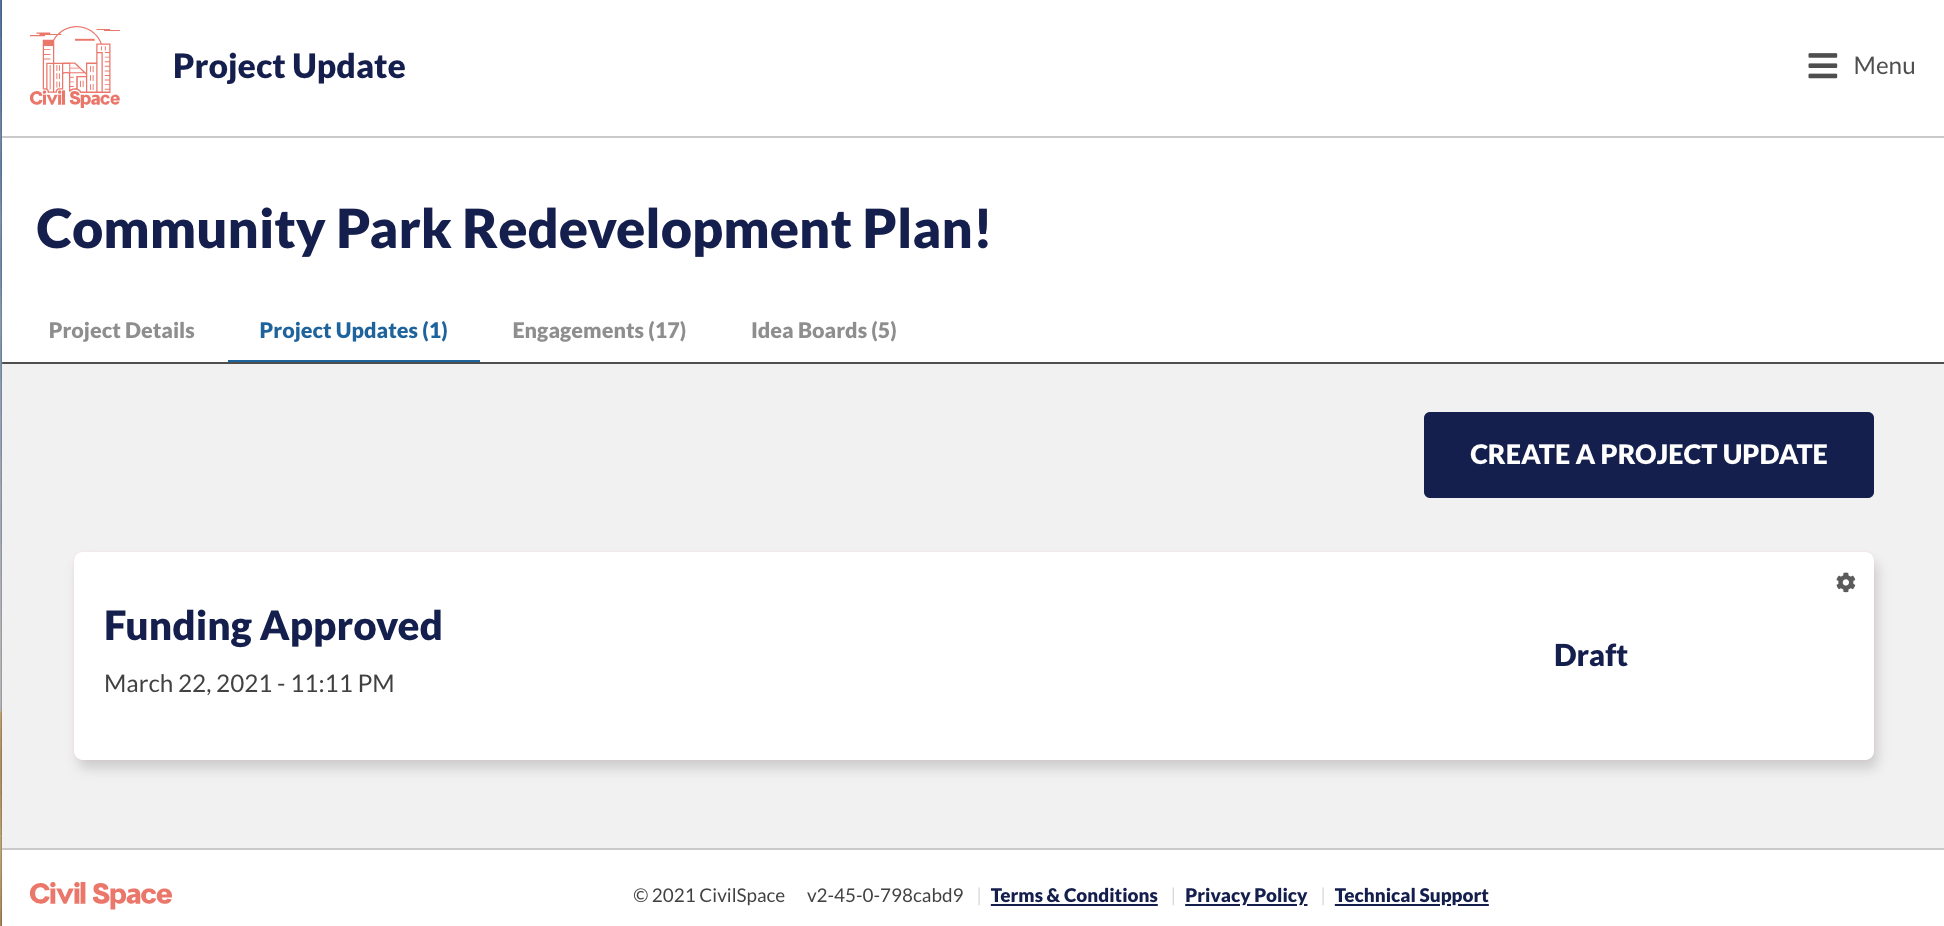
3. To view your Project Updates with the Language options, click on the ‘Project Updates' tab and then select the project update that you want to view.

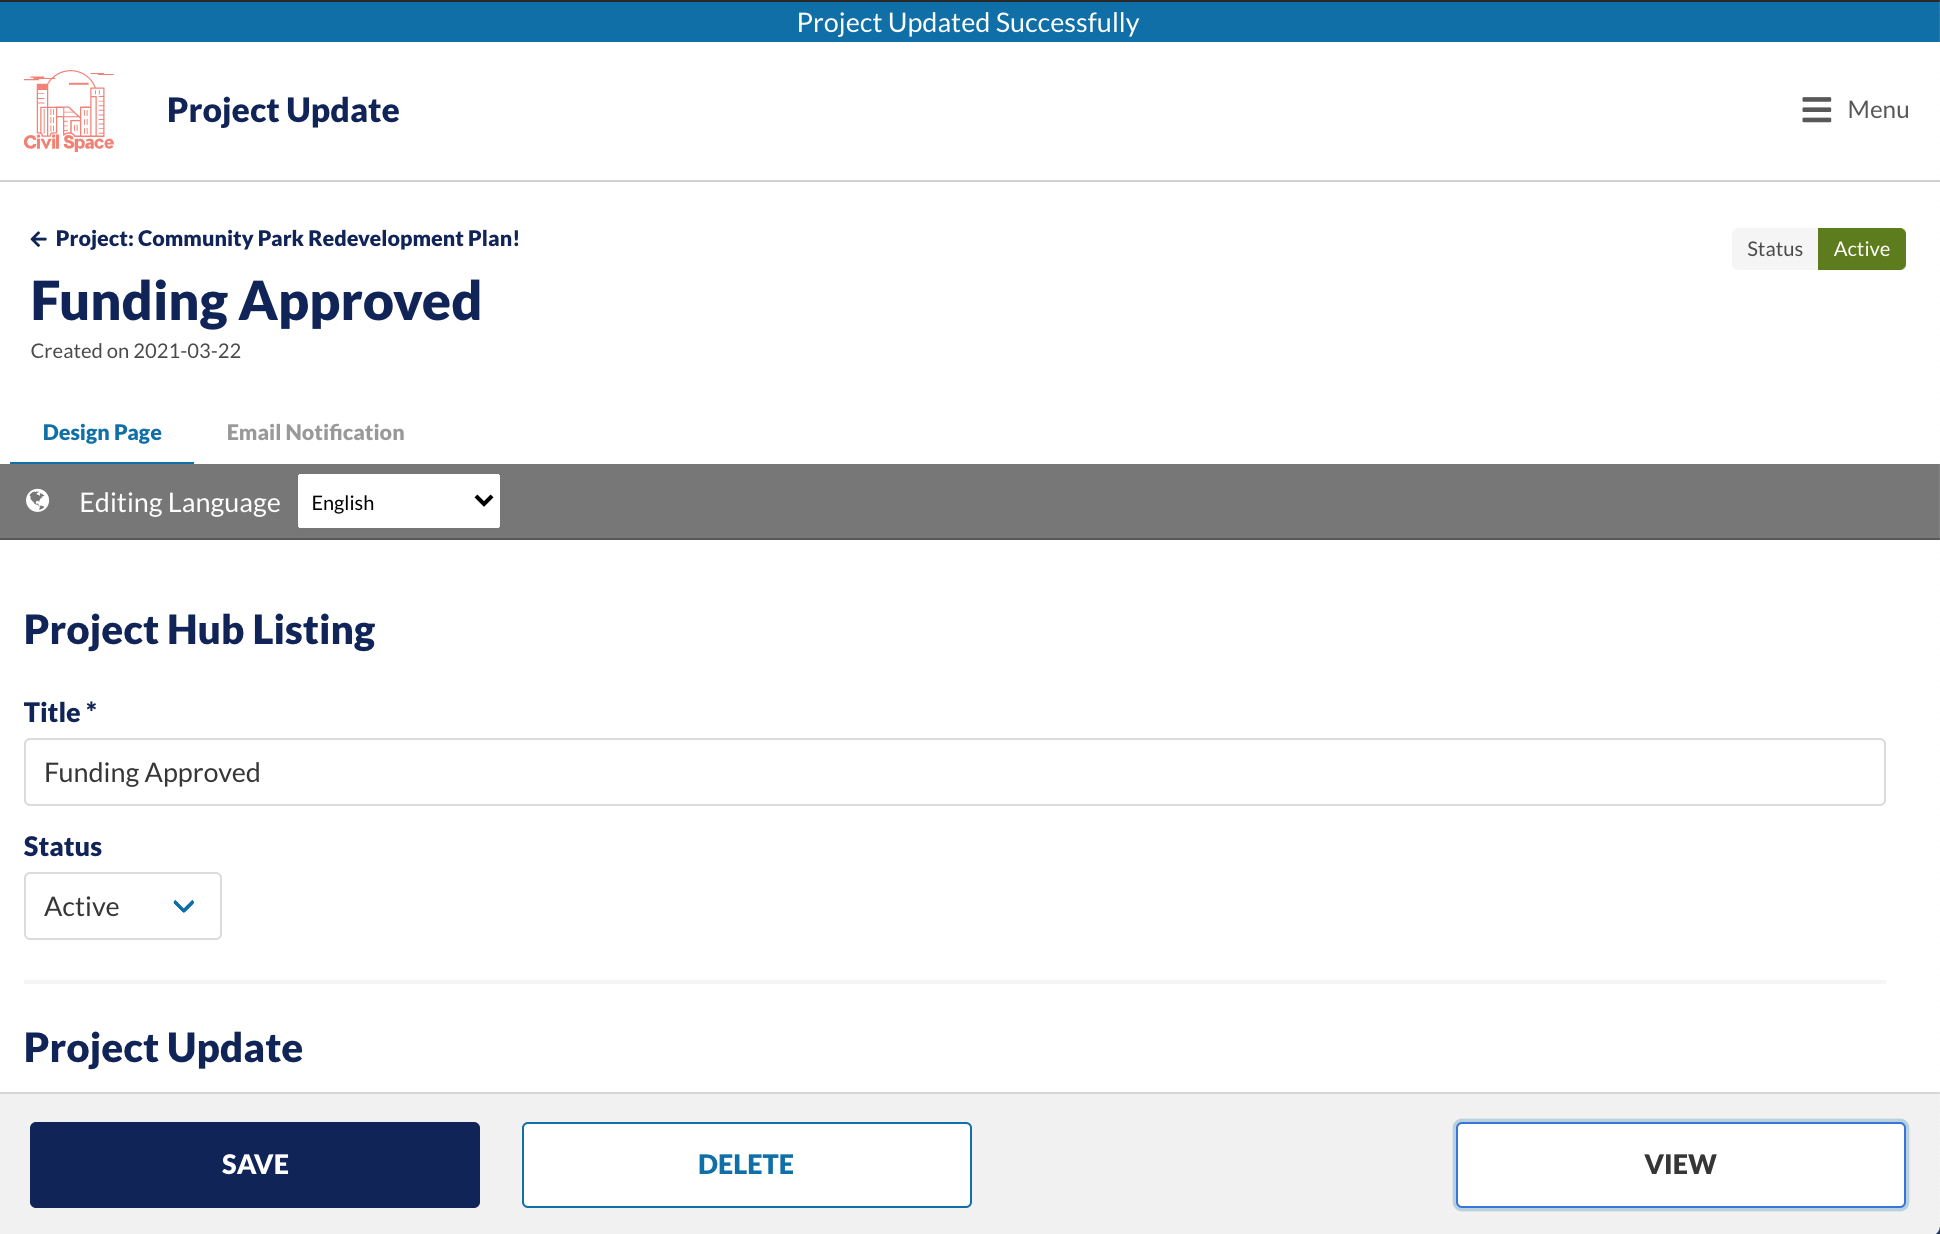
4. On the 'Design Page' ensure that at the top, the Status is set to 'Active'.
5. Then click 'Save' in the bottom left corner. After a moment you
should see a blue banner with 'Project Updated Successfully' at the top
of the page.
Note: You will notice that there is a grey 'Editing Language' box, if
you want to manually edit content in different languages you can click
on the dropdown arrow and change to the specific language that you would
like to edit.
The multilingual capabilities will only change the language for the
buttons/instructions controlled by Zencity Engage, not content that has
been added by the Admin. That is controlled by the Auto-translate
feature, see the bottom of this article for links to this.

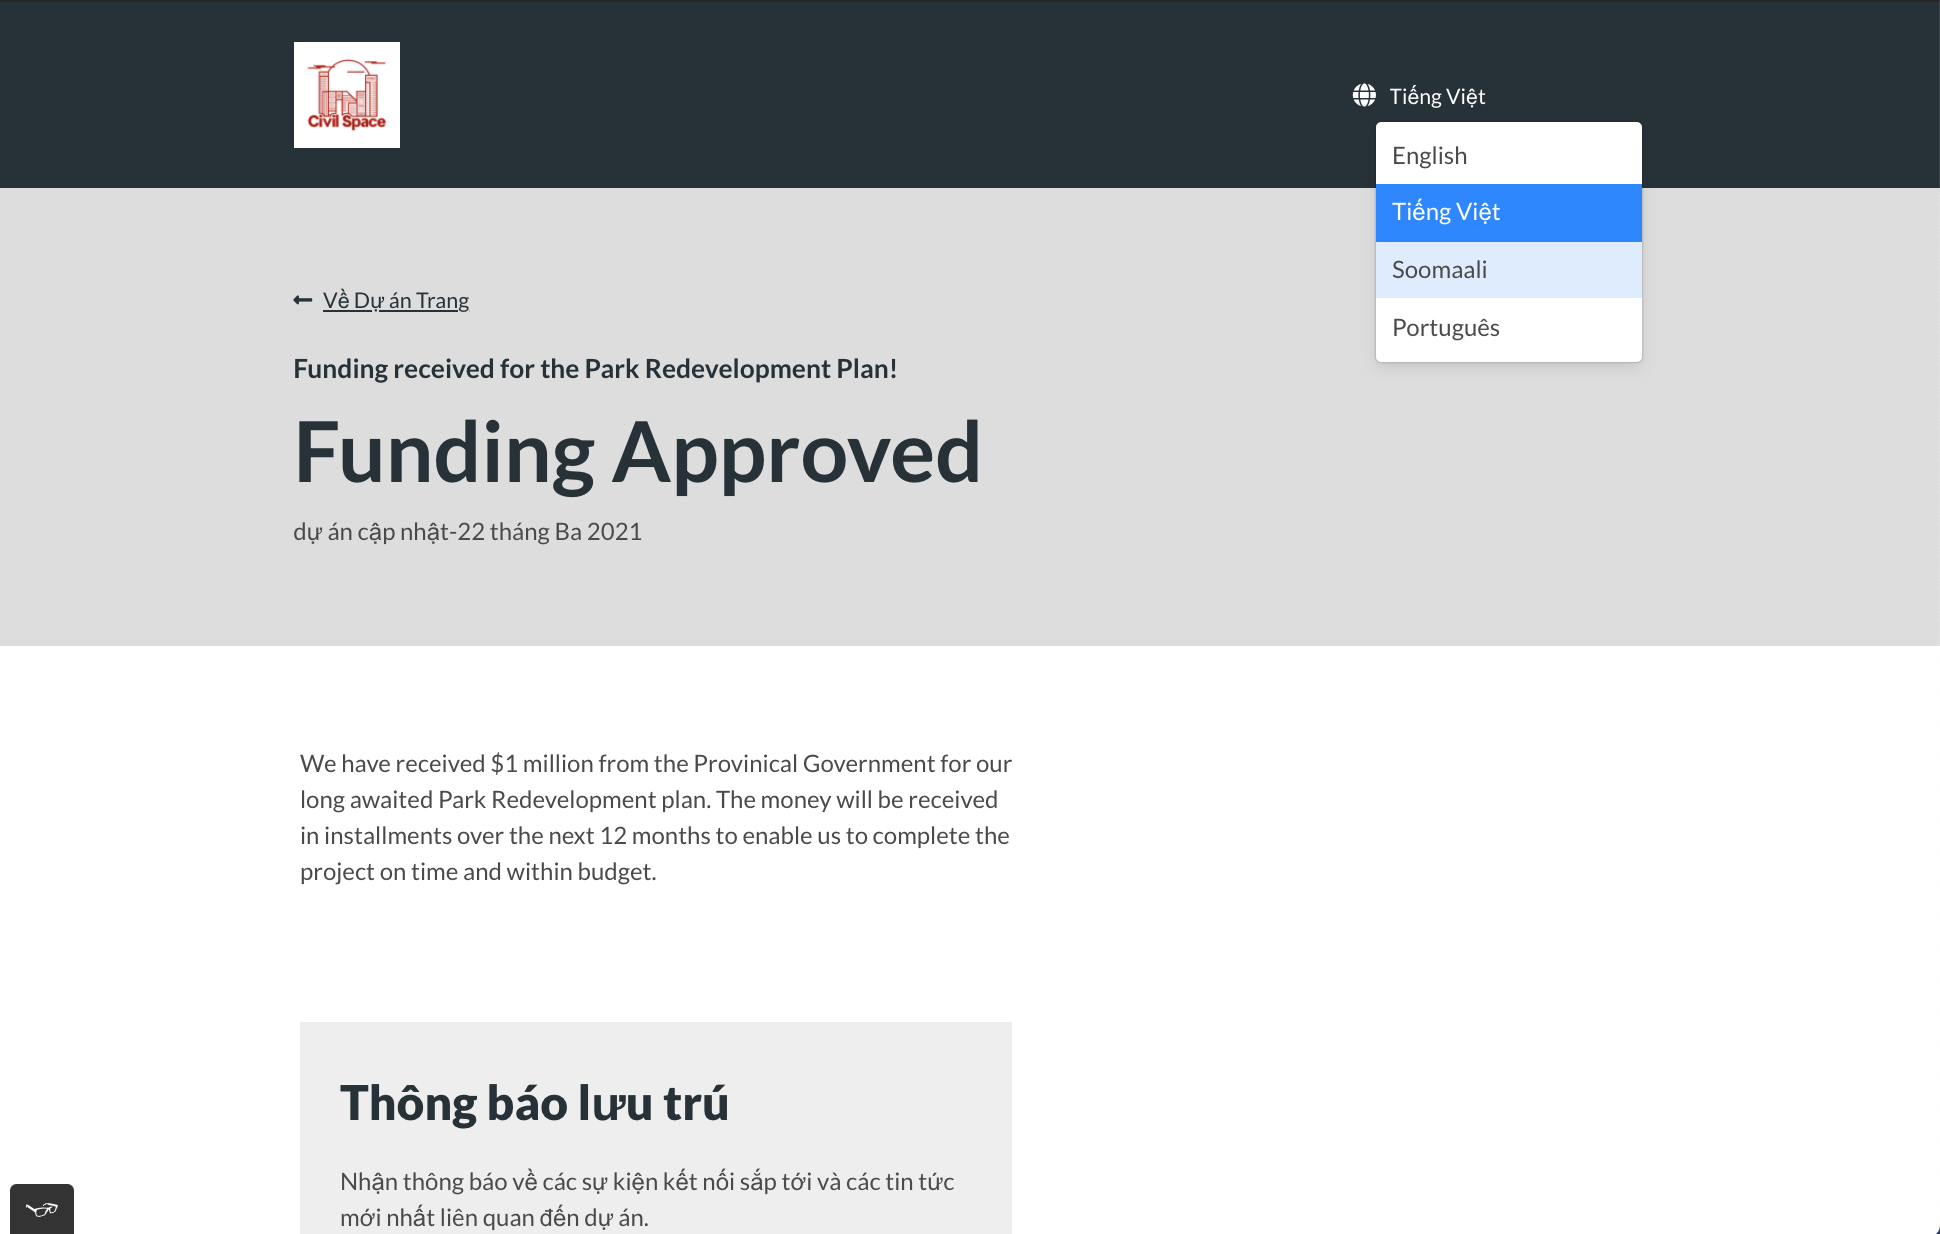
6. Then click 'View' in the bottom right and a new tab will open with a public-facing version of your project update. You can click on the language option icon in the top right corner to switch between languages. Once a language has been selected the page will reload momentarily.

7. After you have viewed the options to your satisfaction, if you do not want the Project Update to remain public, return to the Admin-facing Project Update page and change the status back to 'Draft' and click 'Save'. You will see 'Project Updated Successfully' at the top.
Comments
0 comments
Article is closed for comments.