- Only users with ‘Owner’,‘Builder’ or 'Contributor' status are able to activate and change multilingual features.
The language options available will be the languages that were previously selected on the Project Overview page. Return there to add/change languages. Remember to 'Save' before leaving the Project Overview page and returning to the desired Engagement.
1. Ensure you are logged in to Zencity Engage.
2. Navigate to your Project page and select the project that you want to edit.
3. On the Project Details tab, scroll down to the ‘Language Options’ heading at the bottom of the page.
4. Click on 'Manage Language Options' and a box will appear with the languages available. Select the ones you would like to use and click 'Submit'. These are the languages that you will then be able to select from for your Engagements and Idea Boards for this project.
5. The languages you selected will then appear under the 'Language Options' heading. The languages will apply to all Engagements by default and you will be able to turn off language options for an engagement on an individual basis.
6. You will also notice that at the top of the page a grey box with 'Editing Language' and a language next to it has appeared. This is where you can select a language version to manually edit content for that language page. See our article on the Auto-Translate feature to find out more about manually editing after using this feature.
7. You do not need to click 'Save' if you have only added the languages as this was already done when you clicked 'Submit'. However do click 'Save' if you have added any other new content to the page. A blue banner will appear at the top of the page saying 'Project Updated Successfully'.
8. If you would like to view and try the language options from the public-facing side, ensure that the project status (at the top of the page) is set to 'Draft'/'Active' (if you want it to be 'live') and click 'Save'. The 'Preview' ('View' will appear if the project is 'Active') button should now appear in the bottom right-hand corner. Click on this to see your project from the public-facing side.
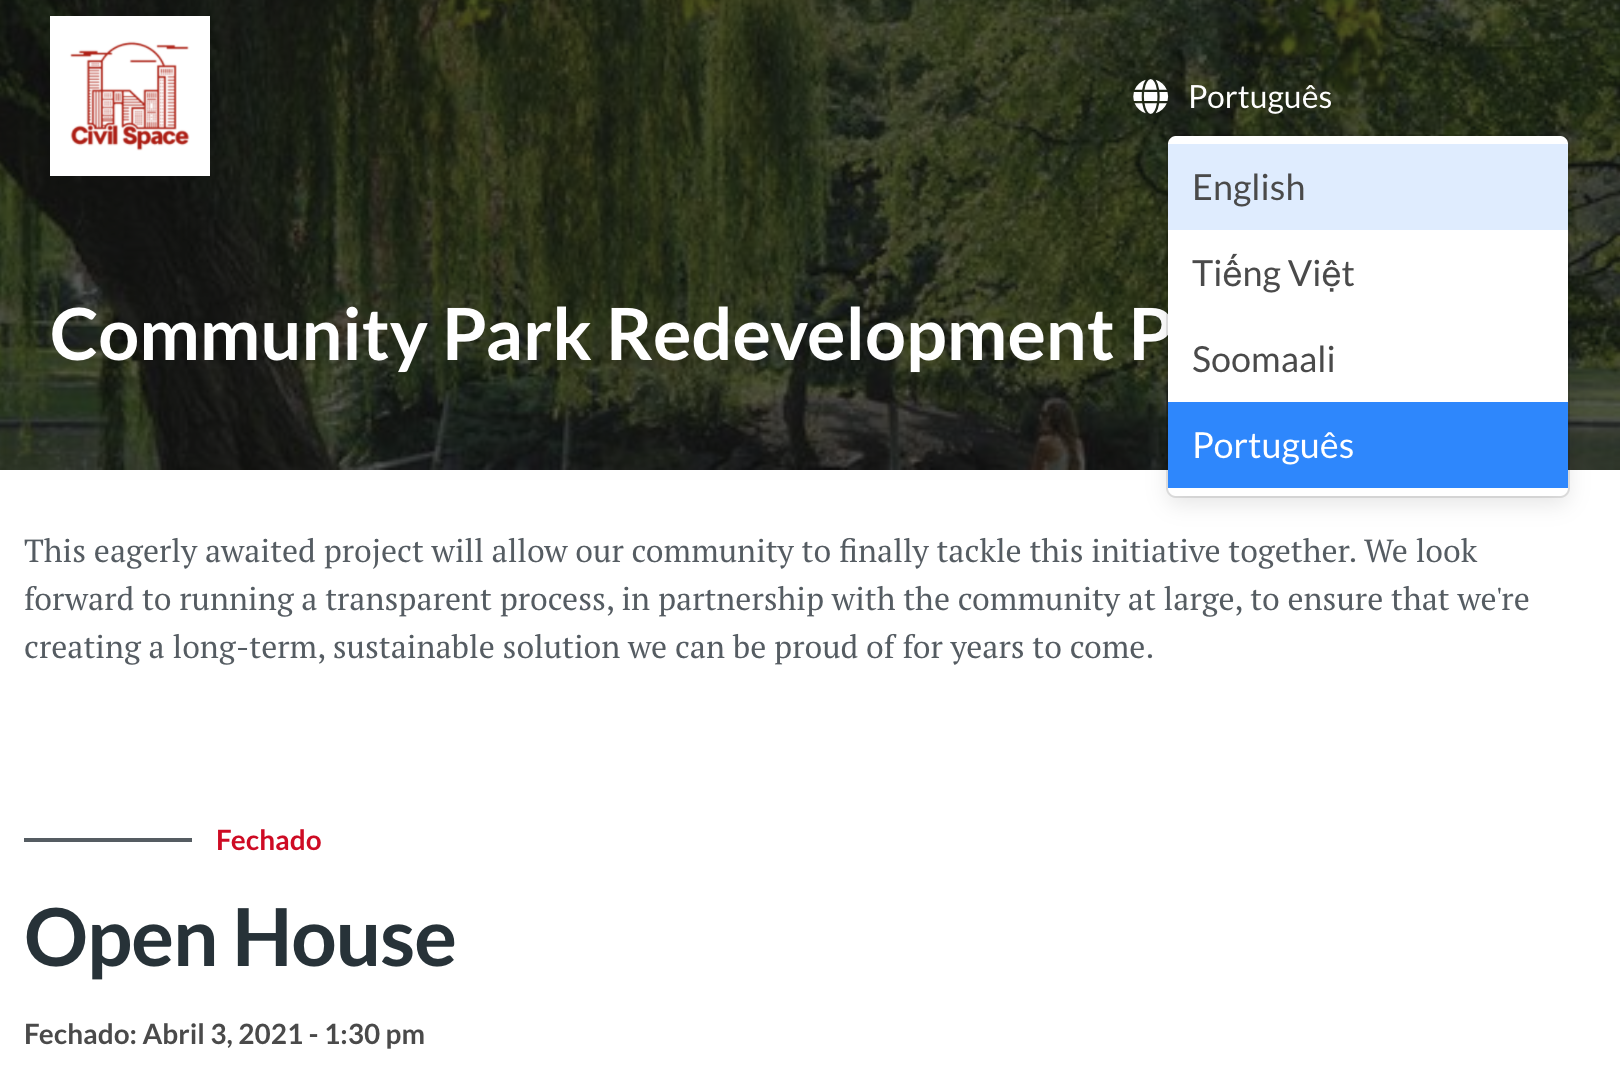
9. A new tab will open with the project page. Click on the language icon in the top right to change language. Select another language and wait for a moment for the page to reload. You will see headings and instructions in your chosen language. Content that has been added by Admins is changed via the Auto-Translate feature.
Comments
0 comments
Article is closed for comments.